接下來請依照以下步驟,建立我們的第二個 Android 應用程式「Hello Web」。
建立新專案: HelloWeb 建立一個新的 Android 專案,如圖1。
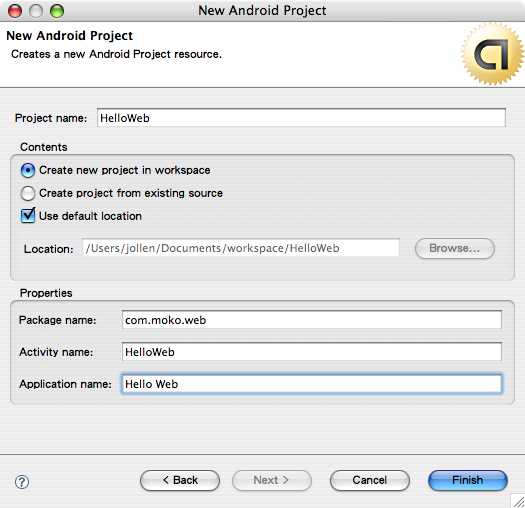
圖1: 建立 Hello Web 專案 並且撰寫 HelloWeb.java 程式如下:
package com.moko.web;

import android.app.Activity;
import android.os.Bundle;
import android.webkit.WebView;

import com.moko.web.R;

public class HelloWeb extends Activity {
    /** Called when the activity is first created. */
    @Override
    public void onCreate(Bundle savedInstanceState) {
        super.onCreate(savedInstanceState);
        setContentView(R.layout.main);

        final String mimetype = "text/html";
        final String encoding = "utf-8";

        WebView wv;

        wv = (WebView) findViewById(R.id.wv);
        wv.loadData("<img src=\"http://www.google.com.tw/intl/en_com/images/logo_plain.png\" />", mimetype, encoding);
    }
}
上述程式碼採用 XML layout 方式來安排 UI,因此接下來的工作就是編輯 XML layout 檔案。規劃 UI: main.xml 編輯 main.xml 來規劃「Hello Web」的 UI 如下:
<?xml version="1.0" encoding="utf-8"?>

<LinearLayout xmlns:android="http://schemas.android.com/apk/res/android"
    android:orientation="vertical"
    android:layout_width="fill_parent"
    android:layout_height="wrap_content"
    >
<WebView
 android:layout_width="fill_parent"
 android:layout_height="wrap_content"
 android:id="@+id/wv"
 />
</LinearLayout>
在這裡我們定義了「WebView」標籤,並且指定「WebView」的 ID 為「wv」。透過指定「ID」屬性給 View 的方式,便能「讓 Android 應用程式在執行時期(run-time)找到指定的 View 物件」。使用 View 的 ID 屬性: findViewByID 怎麼在執行時期,找到「XML layout」安排好的 View 呢?看到 HelloWeb.java 的程式片斷如下:
final String mimetype = "text/html";
        final String encoding = "utf-8";

        WebView wv;

        wv = (WebView) findViewById(R.id.wv);
        wv.loadData("<img src=\"http://www.google.com.tw/intl/en_com/images/logo_plain.png\" />", mimetype, encoding);
呼叫 findViewByID() 方法,即可在執行時期「動態取得 View 物件」。當我們在 main.xml 裡加入 WebView 標籤,「存檔」後,R.java 資源索引檔也會跟著更新,我們可透過「R.id.wv」來索引到 WebView 物件。以下是 R.java 的內容:package com.moko.web;
public final class R {
public static final class attr {
}
public static final class drawable {
public static final int icon=0x7f020000;
}
public static final class id {
public static final int wv=0x7f050000;
}
public static final class layout {
public static final int main=0x7f030000;
}
public static final class string {
public static final int app_name=0x7f040001;
public static final int hello=0x7f040000;
}
}取得 WebView 物件後,呼叫 WebView 的 loadData() 方法,將 HTML 內容載入到 WebView 物件裡,並顯示在 Activity 上。loadData() 的參數如下:- 第一個參數:HTML 內容
- 第二個參數:MimeType 類型,指定為 text/html,即 HTML 類型文件
- 第三個參數:文字編碼方法,指定為 utf-8(Unicode)
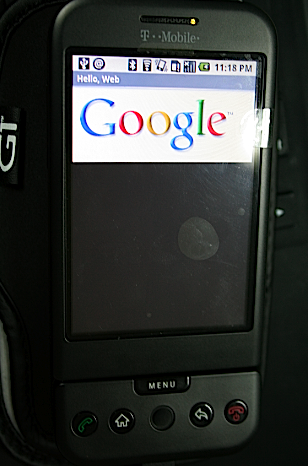
圖: Hello Web 執行結果。
原文地址:http://www.jollen.org/blog/2009/01/jollen-android-programming-6.html
沒有留言:
張貼留言